The winter holiday season always makes me want to cozy up, sip tea, and create with my hands. Handcrafts are my favorite way to feel productive, but at the same time not too busy! A perfect way to slow down the season. With the stress of shipping deadlines behind us, this next week gives me all the time to make all the treasures with and for my little ones.
Each year I make some sort of handcraft for my children’s stockings. My mom did this for me as a child, and she continues to do it for my children now! It is so sweet how they have a true appreciation for things made with love. I’ve always thought the Waldorf star dolls were so cute, and I was excited to try and make my own little version with materials I already had on hand. This is a craft that is easy enough for young sewers to practice their stitching, and seeing a little friend come to life with the work of their hands is quite satisfying to them. So if you just want to do this as a holiday handcraft rather than as a gift, it is perfect for spending time together creating little treasures to give to others or keep for yourself. They can be used as ornaments, for nature tables, doll houses, or to keep you company any time in your pocket!
We added a whole clove along with the stuffing, so these smell like the Christmas season! I also love any craft that allows me to use up our tiniest merino scrap pieces- these dolls are filled with all the merino love, and are happy to be cozy with their stripe merino scarves!
WHAT YOU NEED:
- scissors
- paper and pen for template
- wool felt
- small wooden bead (mine is about 5/8” in diameter)
- thin string or yarn
- needle
- pipe cleaner
- scraps for stuffing
- hot glue
- optional- whole clove, and scrap for scarf
INSTRUCTIONS:
- Make your paper template and cut it out (you can print out mine here!)
- Trace the template onto your felt and cut out your felt body and hat
- Fold your felt piece in half and cut a small hole for the neck
- With the felt folded in half, push the pipe cleaner through the neck hole, and slip on wooden bead for the head
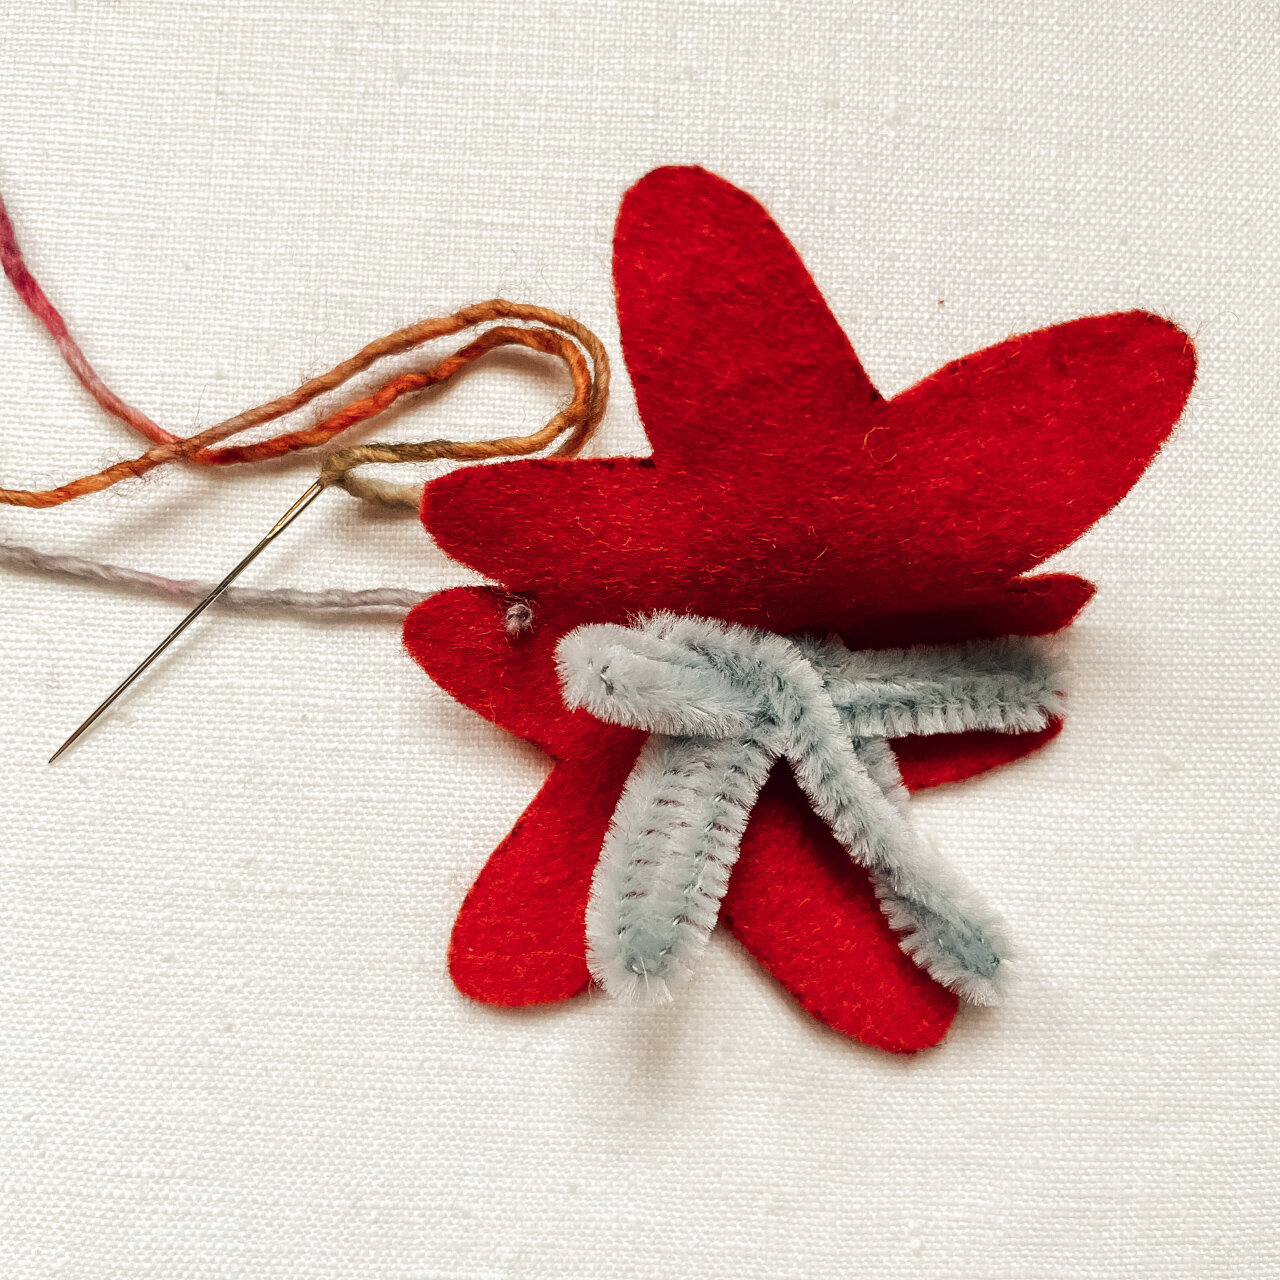
- Open up the felt and fold the pipe cleaner horizontally to fill the arms
- Wrap the pipe cleaner in the center and then fold down for one leg, back around the center, and then down the other leg and back to center
- Fold the felt body back down, and secure head by bending the pipe cleaner towards the back of the bead
- Cut your yarn/string to about 30 inches, thread one end, and knot the other. Start your stitching in the inside shoulder.
- Do either blanket stitch (as shown above), or whip stitch around the edge, filling with tiny fabric scrap pieces or any stuffing you have available as you go along. I also added one whole clove in the middle to give a sweet smell of Christmas! Continue your stitching around the entire body, and tie off with a knot at the shoulder. Do one final stitch through to the interior and out again to another edge, just so the end of the yarn is buried inside! Then snip off any extra yarn.
- Put a small dot of glue on forehead, and press the center edge of the rectangle felt piece firmly down.
- Wrap the ends of the rectangle around to the back forming a point at the top of the hat, and glue to wooden bead. Trim the back of the hat along the bottom.
- Cut a thin piece of scrap fabric and tie around the neck to keep your new friend cozy!
To make into an ornament, you could also just string a loop at the point of the hat.
Enjoy all of the stories and life to come from these new friends, all thanks to the hard work of your hands and creativity!
If you want to make some more gnomes to join the fun, you could also try these no-sew hazelnut gnomes.


