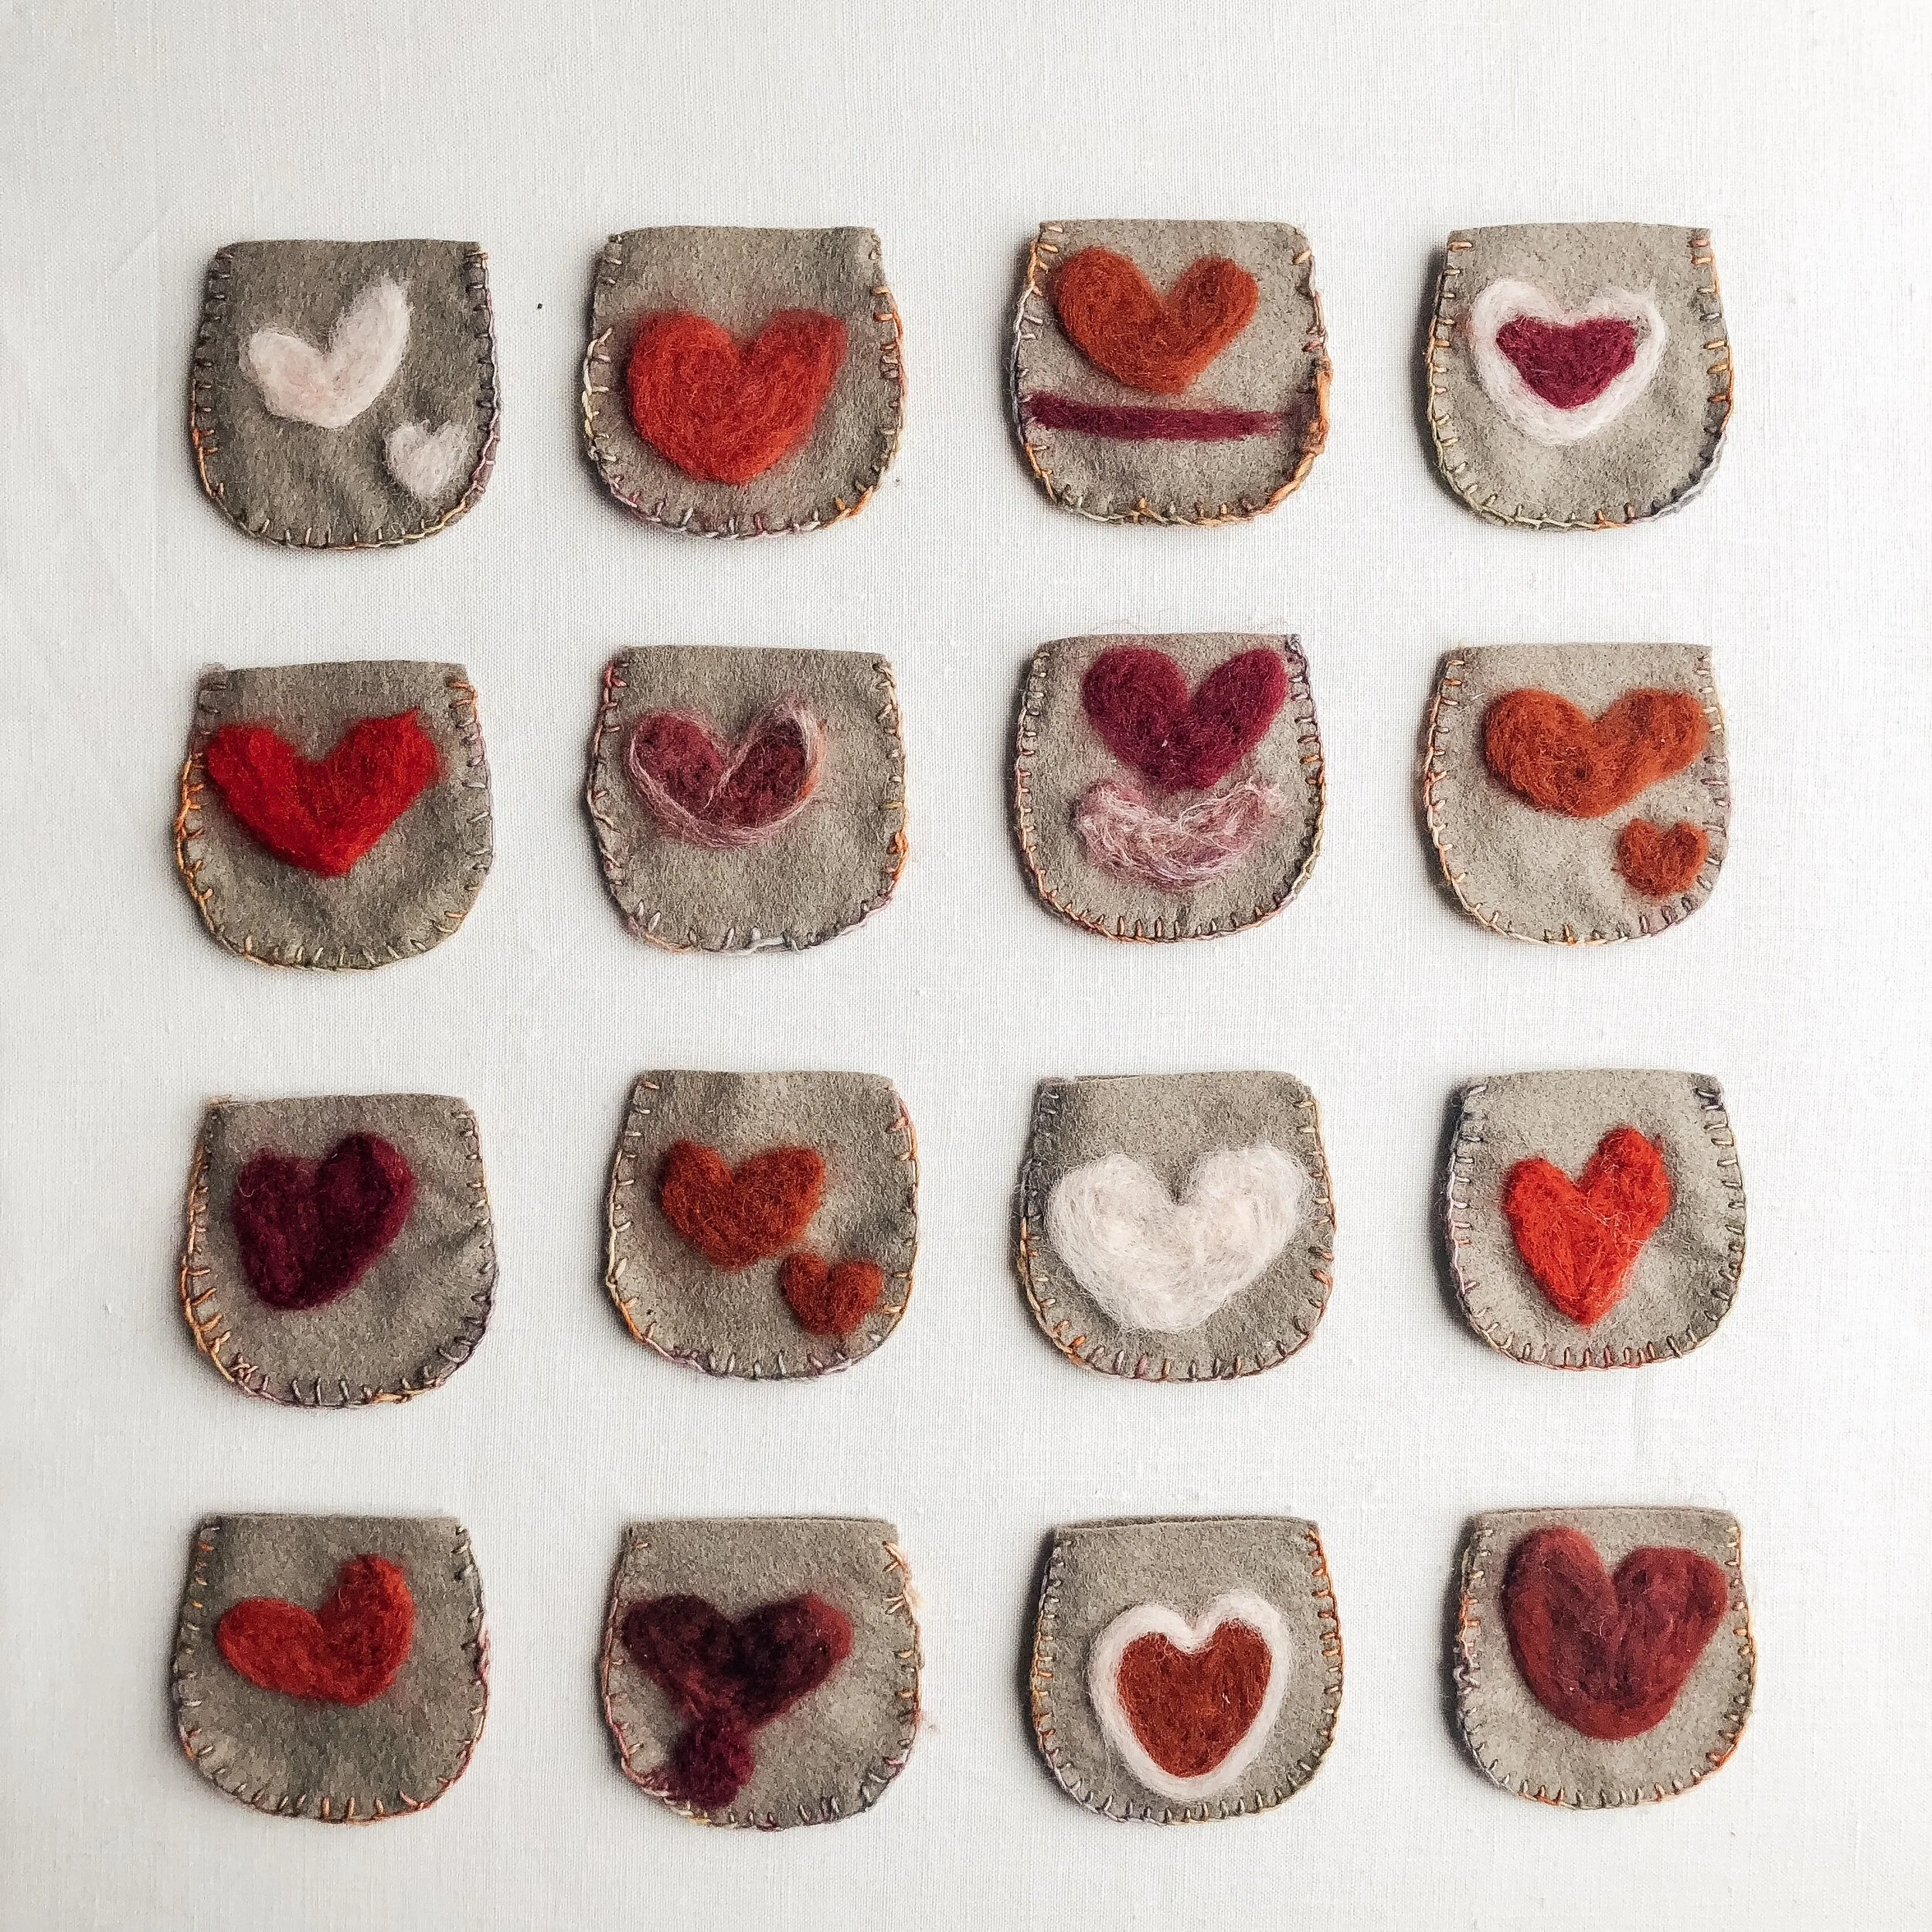
My children have definitely made me appreciate Valentine’s Day more. In our practice of striving for simplicity, initially, the thought of both of my children coming home with 20+ Valentine’s was not at all appealing. But each year, with my kids showing me that they truly put their love and care into crafting small treasures for their classmates- savoring the slow, thinking of others, and appreciating natural materials- has caused me to have a change of heart and believe that beauty can exist in school Valentines (especially if they are woolly :).
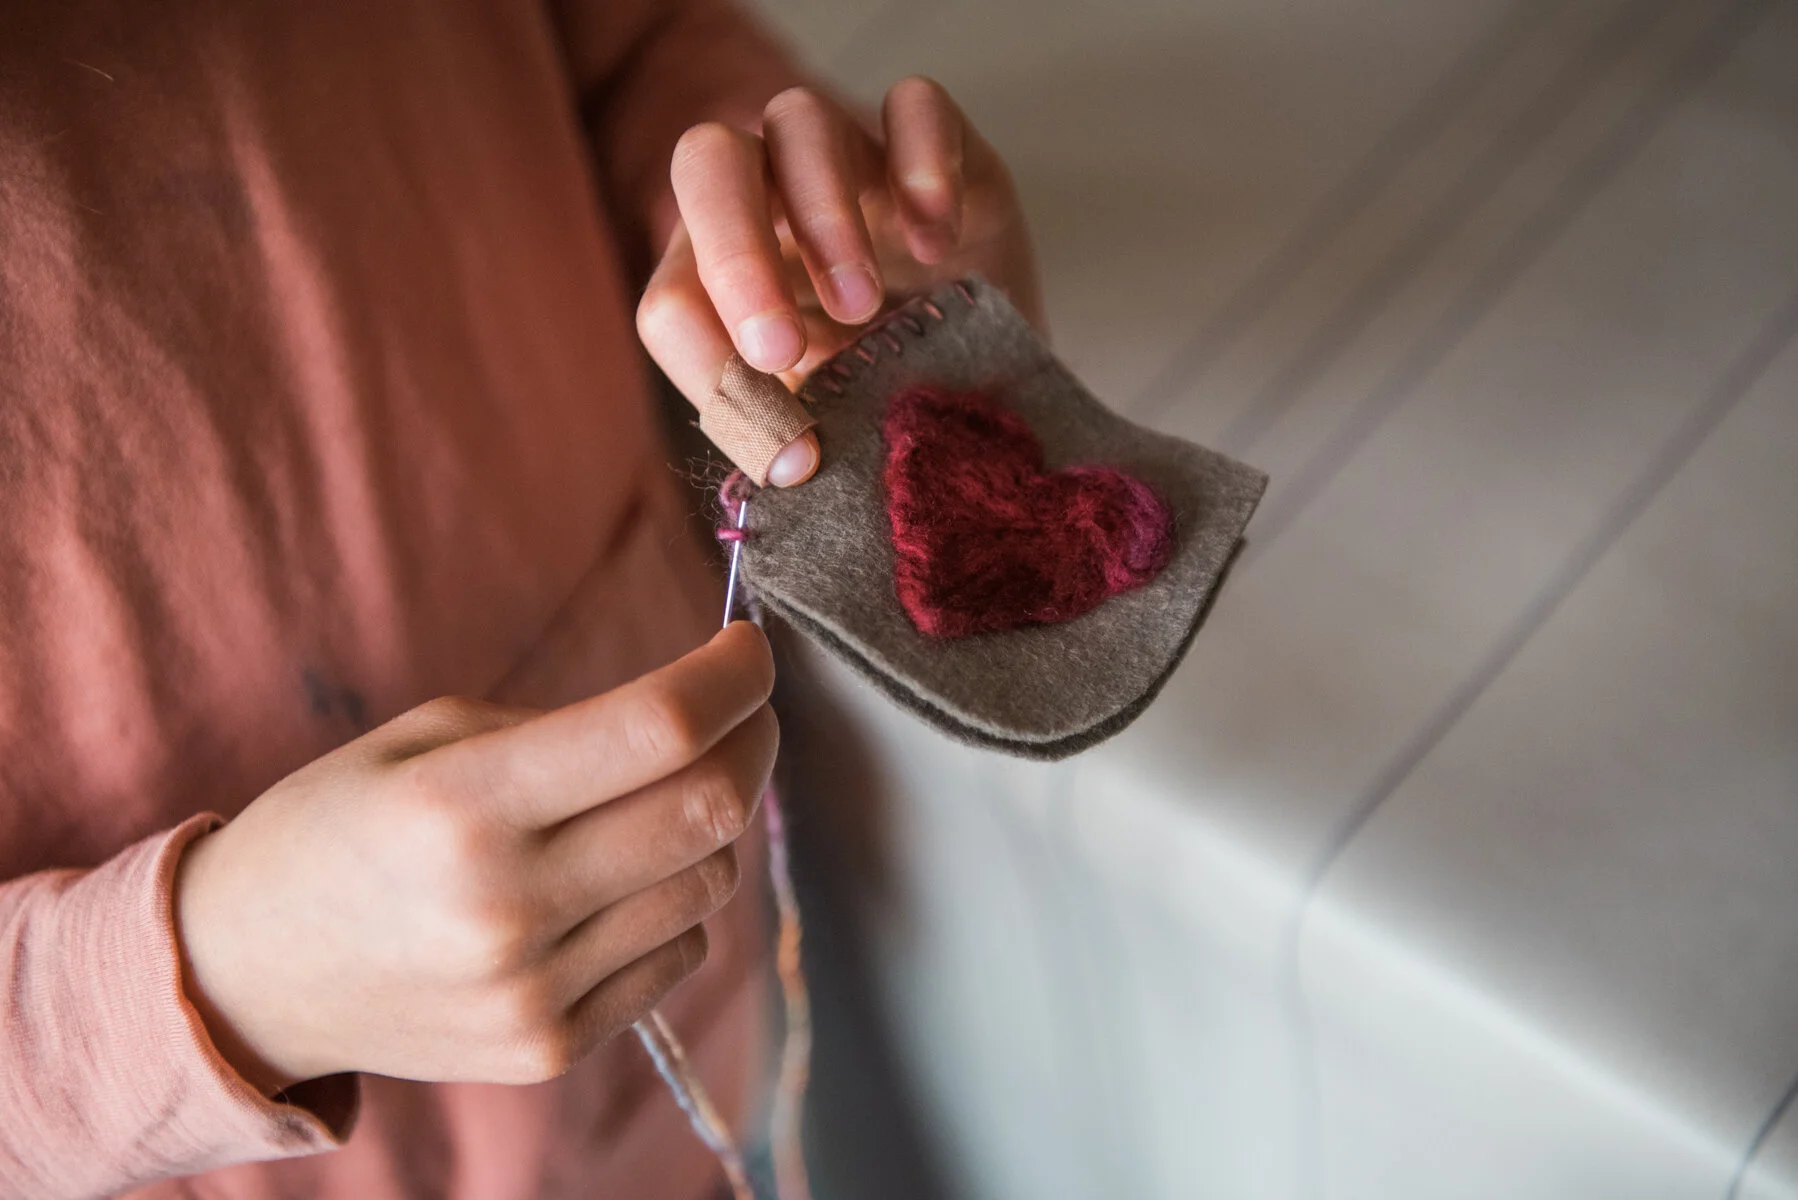
For the past couple years, my daughter has done a variation of a needle felted woolen heart for Valentine’s Day. She is probably on the young side to do needle felting (she is 7), but has shown a strong interest in making and especially all things knitted and felted. There have been pokes to the fingers along the way, so close supervision in the beginning is necessary if you’re thinking about trying with your kiddo. This tutorial was put together with the help of my little girl but is really for mamas that like to make!
This is a nice beginner’s needle felting project due to its two dimensionality - good to practice all of that poking!
What You Need:
These are all materials we already had in our crafting cabinet. Once you start your needle felting journey, you will find that you can create and create without the need to accumulate additional materials- these basic materials will go a long way for a variety of felting projects! We get all of our materials from our local yarn store in Denver, Fancy Tiger Crafts. I’ve linked the items from there just so you can see what they are!
- scissors
- wool felt
- wool roving
- felting pad
- thin string or yarn and sewing needle
- felting needles
- heart shape cookie cutter (optional)
Instructions:
- Cut wool felt into desired pouch shape (mine are approx 2.5” across and 3” in height)- one piece for the front, one for the back
- Tear off a small piece of wool roving (do not cut roving)! Simply tug it to pull a piece away. Tip - it makes it easier if your hands are further apart.
- Lay your cut out felt piece on top of your felting surface or pad. If you prefer to use a cookie cutter to help you shape the heart, lay the roving inside and spread it to cover the heart shape. You don’t need much since you are just felting a flat heart! My daughter did not use the cookie cutter- she just did it free hand, which I think adds some character and cuteness!
- While holding the felting needle straight up and down- repeatedly poke away! I usually start around the edges and then fill in, being careful to watch those fingers!
- Continue poking until the roving is adhered to your cutout felt piece. Remove cookie cutter (if using) and carefully clean up the heart shape with continued pokes around the edges.
You can also try just freehand making your heart design - like my daughter did here.
- Once you are satisfied with your heart, carefully pull up your felt piece off of the pad and stack it on top of the other cutout felt piece- now you are ready to sew and finish your pouch! We used a blanket stitch to create a really pretty edge - this video shows you much better than I could how to do a blanket stitch, so I’ve linked it for you!
- Fill your pouch with a note or chocolate, and spread the love!
This basic technique can also be used to simply make a felted heart. These below were made by my daughter last year using the cookie cutter! To make it more 3-dimensional, fill the cookie cutter with more roving than you used for the pouch. You will also have to poke more around the sides to shape it. Result is a little woolly treasure full of love, ready for tiny hands and pockets to carry always.


