I always like to surprise my little ones with something handmade for each holiday. Their squeals of delight in surprise with seeing something that their mama made with her own two hands is so rewarding. And of course I can’t resist any excuse to use our merino wool scraps. These little bunnies are quite endearing with their simplicity and sweetness, and I’m sure they will hop their way into many hours of imaginative play.
WHAT YOU NEED:
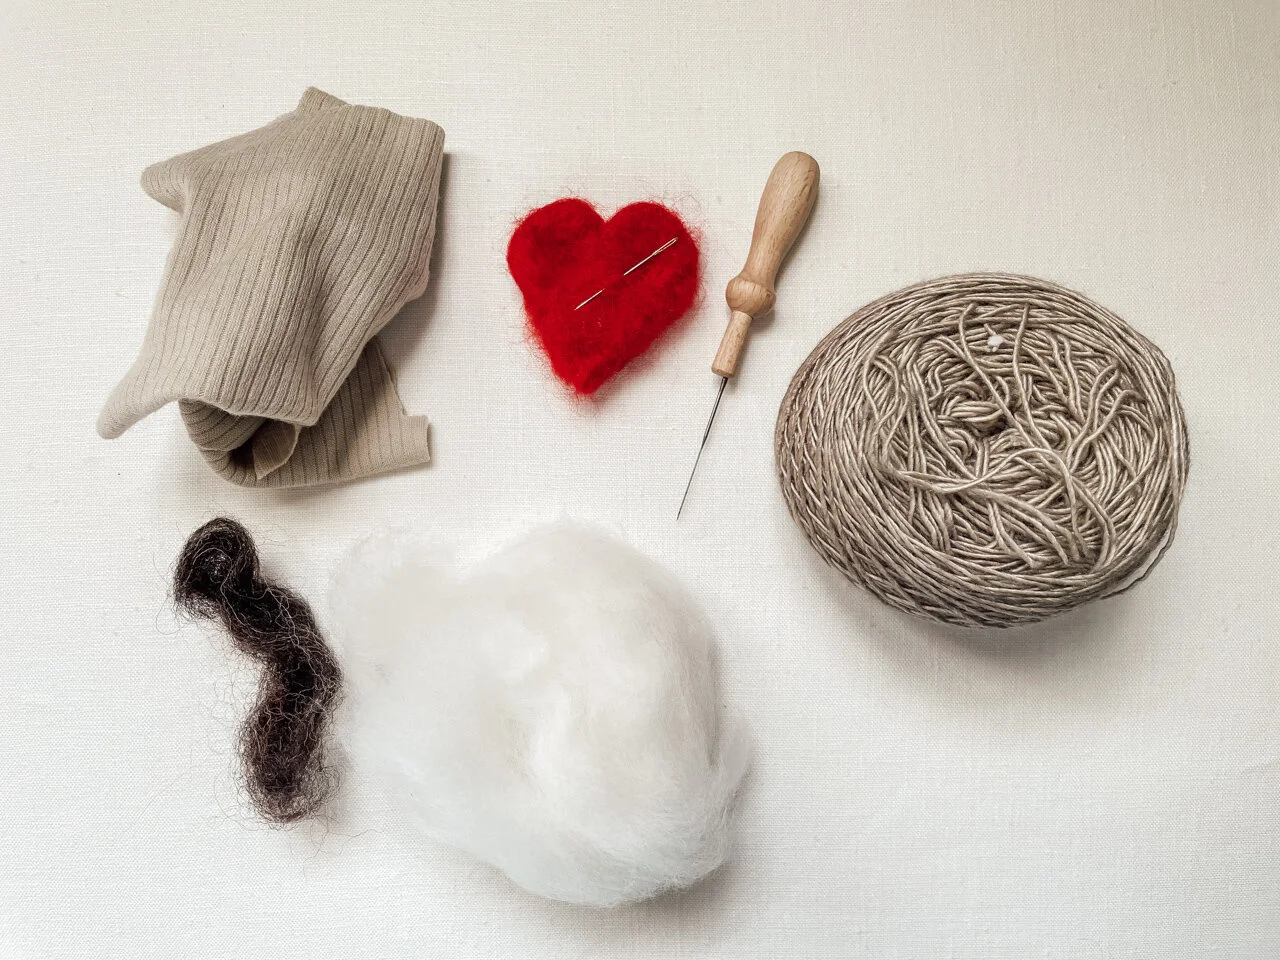
– fabric scraps (merino preferably, of course- the natural stretch lends itself well to growing bunnies :)
– thin yarn or thread
– wool roving for stuffing (or other scrap material, it just may show more bumpiness in the body)
– wool roving for tail and eyes
– felting needle
– sewing needle
– scissors
INSTRUCTIONS
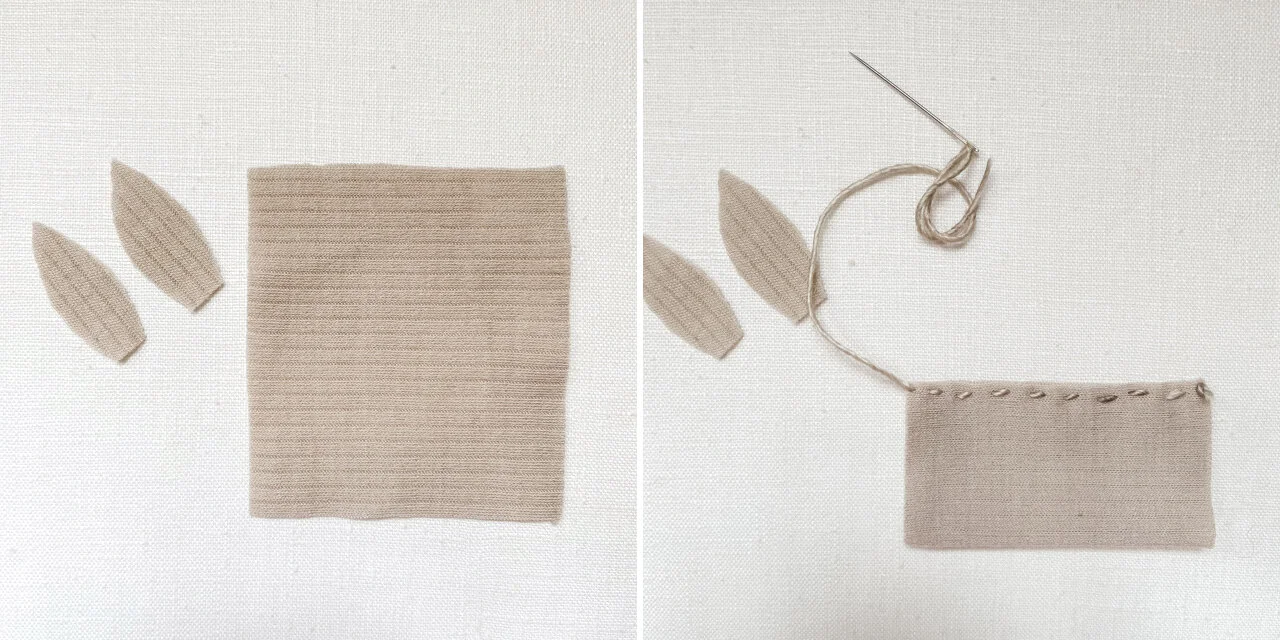
– Cut out the pattern (or make your own pattern) and trace it onto your fabric. Be sure that your fabric stretches mainly with the width of the body rather than the length. Cut your fabric body and ears.
– Fold the body fabric (with the right side facing each other), knot one end of your thread, and sew the top and bottom edge together with a running stitch.
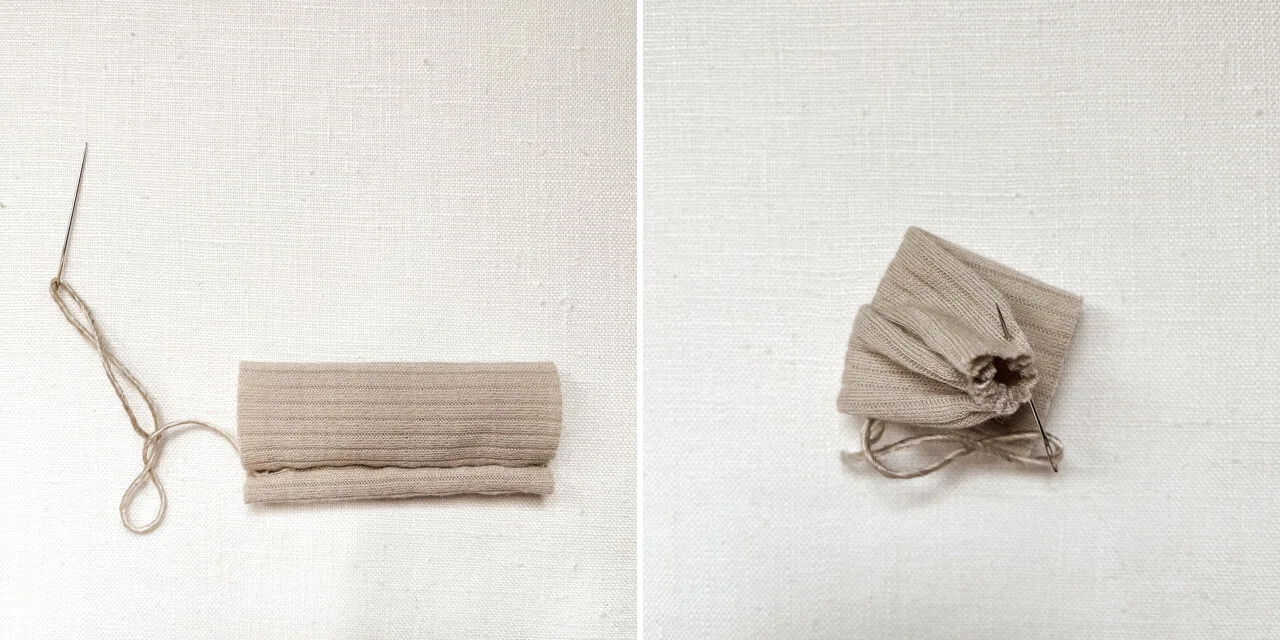
– Turn fabric inside out so that the right side is now on the outside. This seam line will be the underside.
– Sew a running stitch around the opening and gently gather the fabric tightly once you have sewn all the way around. Secure with a knot and bury the end of the thread inside.
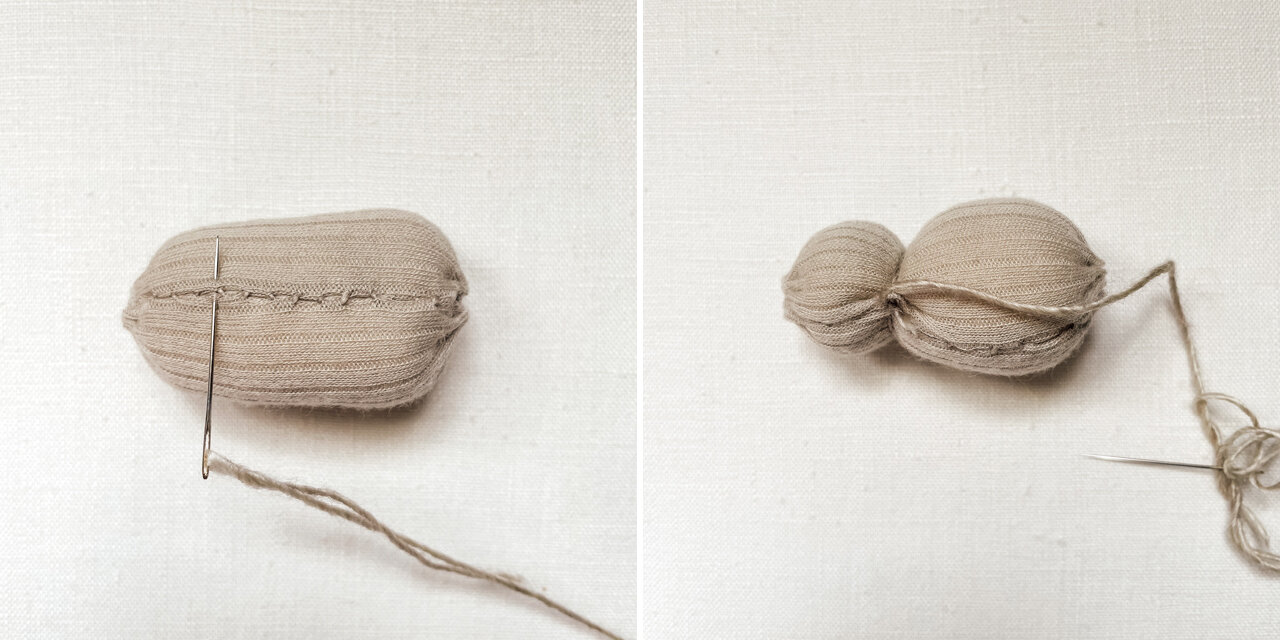
– The gathered side will be the nose and head. Fill with your stuffing of choice, putting more toward the back 2/3 for the body.
– Knot one end of a new piece of thread, and sew the back end closed in a gathering stitch as you did before. Tie off with a knot and bury end inside.
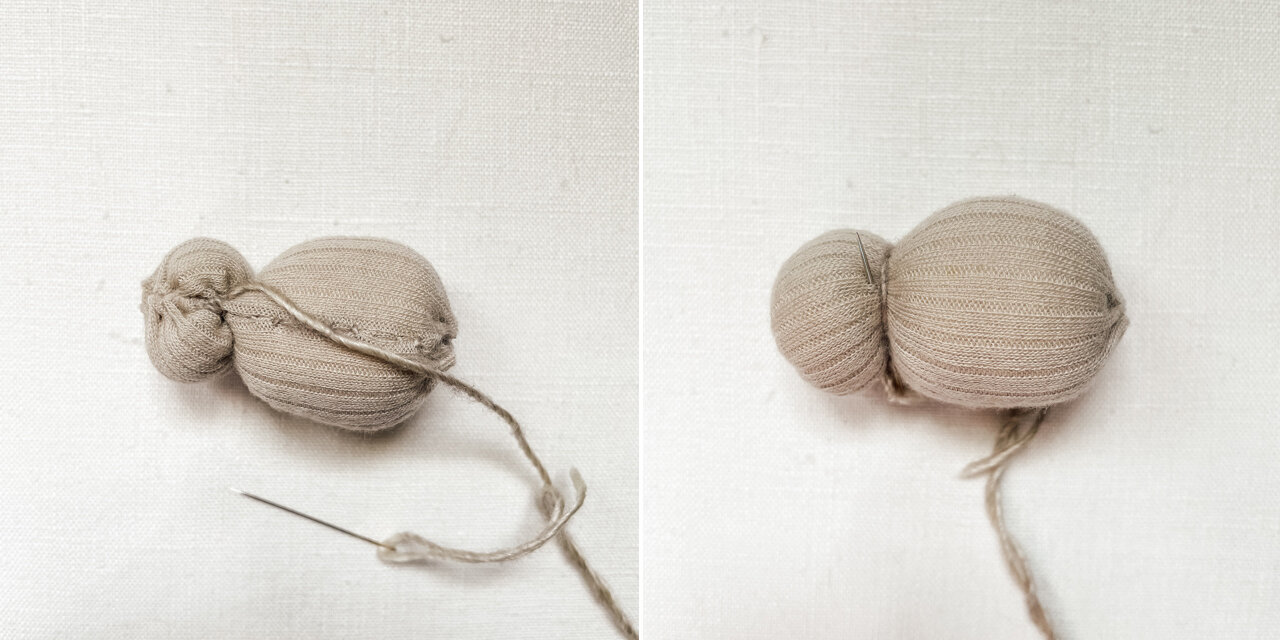
– Shape the head by inserting your needle at about 1/3 of the way in lengthwise from the nose. To form the neck, wrap your thread around and tighten and knot once you are back at the seam (the underside).
– To make the nose point downward slightly, use some of the remaining thread to sew the bottom of the nose to attach closer to the body.
– Insert your needle through the inside and back out to where you want to attach the first ear.
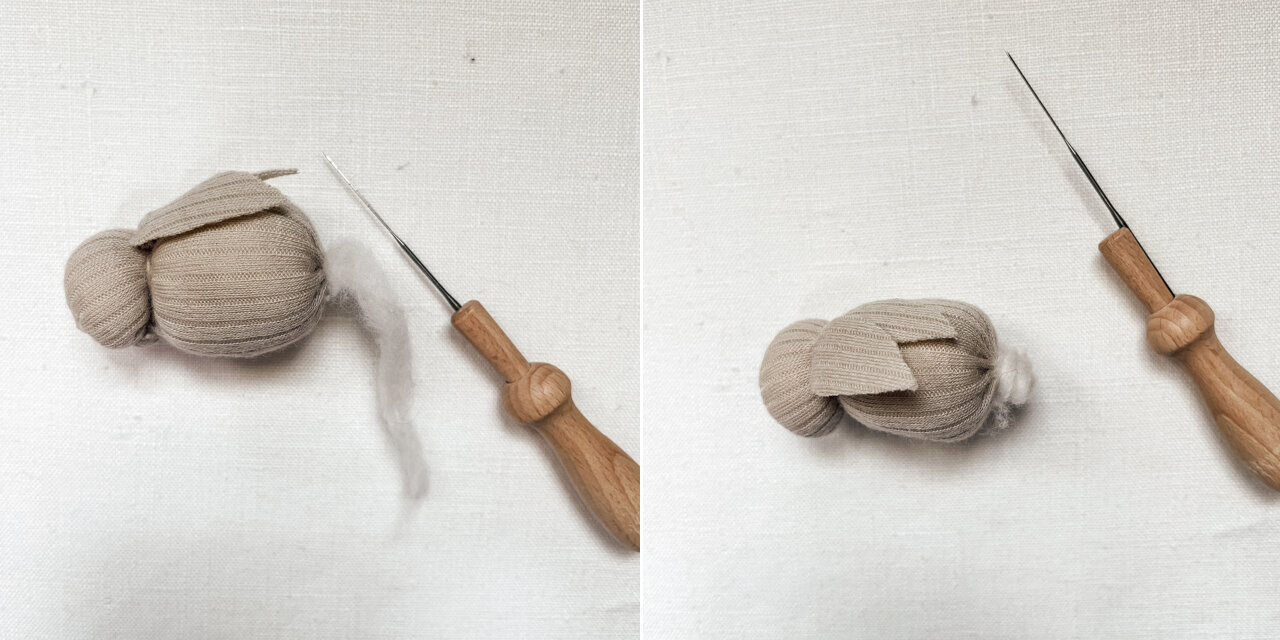
– Gather the first ear on your needle with a few running stitches, and sew on to attach to head. Repeat with 2nd ear.
– Push needle through to the underside and knot and bury thread end inside.
– Take a small piece of roving for the tail and attach one end to bottom with a handful of pokes using your felting needle.
– Wrap the roving in a sort of an ice cream swirl, and attach with more poking from your felting needle.
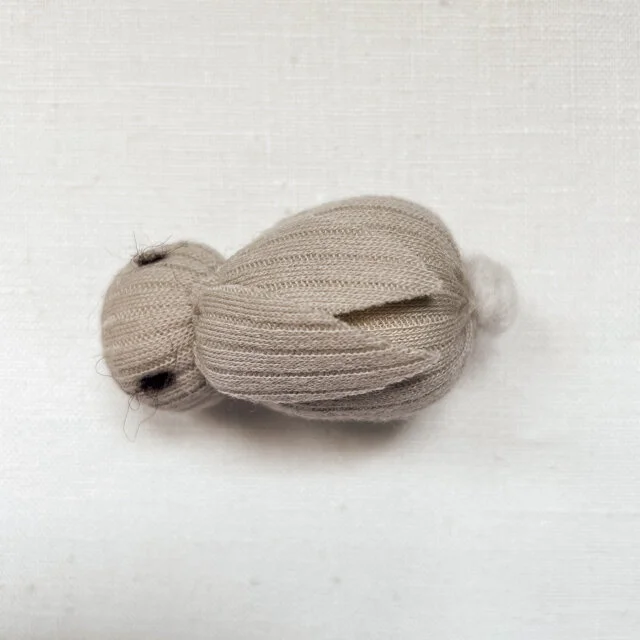
– Tail is done! Last steps are the eyes- you need hardly any roving- just the tiniest bit and some poking to get them done.
And you have yourself an adorable baby bunny! Ready to bring all the sweetness to spring!
